
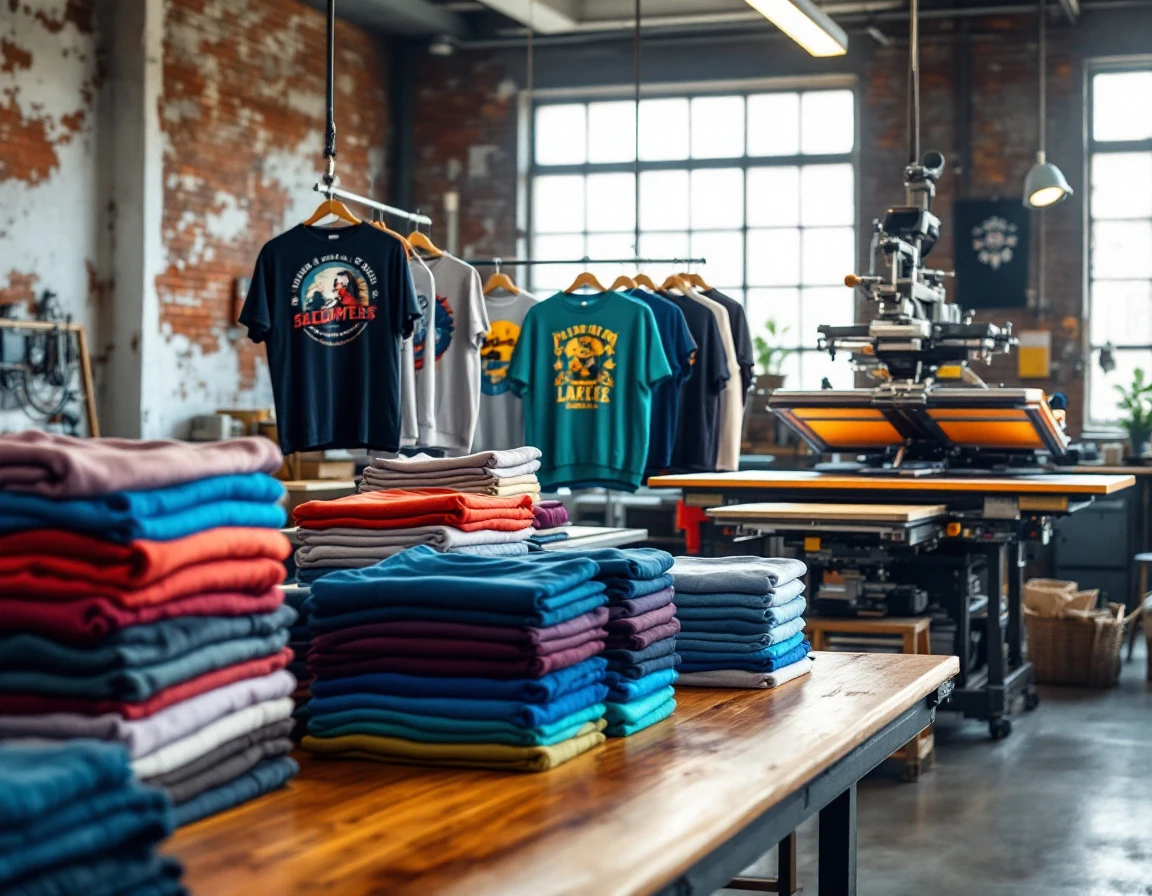
Why Apparel Margins Outpace Other Services
Pack-and-ship services keep the lights on, but they rarely build wealth. Most shipping transactions deliver gross margins between 20 and 35 percent after you account for carrier costs, labor, and materials. Apparel printing flips that equation: typical margins land between 50 and 70 percent because you’re selling a finished product rather than acting as a middleman for carrier services. When you add apparel printing to your store, you unlock margins that dwarf those from traditional fulfillment work.
The financial advantage grows when you consider upfront risk. Traditional inventory models force you to pre-purchase sizes, colors, and designs before a single customer orders. Print-on-demand and small-batch production eliminate that gamble. You print what sells, when it sells, protecting cash flow while maintaining healthy margins on every piece.
Adding apparel increases what existing customers spend with you. A business owner ordering 500 flyers might add branded polo shirts for staff. That bundled order doubles the transaction value and deepens the relationship. Few competitors in your market offer both services under one roof, so early movers capture local accounts before national online sellers even know the opportunity exists.
Print-on-Demand versus Batch Production
The production model you select drives your entire operation — from startup costs to fulfillment speed to how much profit you keep per sale. Print-on-demand, small-batch manufacturing, and in-house production each fit different order volumes and business stages.
Print-on-demand services require zero inventory investment and no minimum orders. You pay only when a customer places an order, and your supplier handles printing, packing, and shipping. Fulfillment typically runs 5-10 business days, and margins hover around 20-30% after supplier costs and platform fees. This model works best for testing designs or serving stores moving fewer than 50 units monthly. A small t-shirt printer might launch a new design line through POD, then evaluate sales data before committing to inventory.
Small-batch production — ordering 10-50 units at a time from a local screen printer or embroiderer — increases your margin to 40-60% while cutting fulfillment time to 3-7 days. You need vendor relationships and enough cash flow to pre-purchase inventory, but order minimums remain manageable. This approach makes sense when you consistently move 50-200 units monthly and can predict which designs will sell. Expect to invest $500-$2,000 for your first batch order depending on garment quality and decoration complexity.
In-house equipment — purchasing your own heat press, embroidery machine, or screen printing setup — delivers the highest margins at 60-70% but requires $5,000-$15,000 for commercial-grade equipment plus time to develop printing skills. This path pays off once you exceed 200 units monthly and have dedicated space for production. You control quality, fulfillment speed, and can accept custom orders, but equipment maintenance and supplies become ongoing operational concerns.
Match your production model to current order volume, not projected growth. Start with POD to validate demand, transition to batch production as volume builds, then evaluate in-house equipment once you have consistent monthly sales and production space.
Production Model Deep Dive
Choosing the right vendor or equipment starts with matching your expected monthly volume to production realities. For print-on-demand partners, order sample products from three to five providers before signing contracts. Check color accuracy against your digital files, inspect fabric weight and seam quality, and measure actual turnaround from order submission to shipment. Many POD platforms advertise three-day production but ship economy ground, turning a quick print job into a week-long customer wait.
Small-batch production requires clearer supplier communication. Minimum order quantities typically range from 50 to 200 units per design, with payment structured as 30-50% deposit and balance before shipment. Request samples with your exact artwork to verify print placement and color matching. Ask suppliers about their defect replacement policy—most reputable vendors guarantee 95% quality rates and replace defective units within the same production run.
In-house equipment decisions hinge on breakeven math. A basic heat press handles transfers efficiently at modest material costs per shirt. Direct-to-garment printers represent a larger upfront investment but offer lower per-unit ink expenses. Create a simple spreadsheet comparing equipment cost, per-unit material expense, and your selling price. With healthy margins per shirt, a heat press pays for itself quickly at moderate production volumes. Factor in a learning curve for quality control and production speed before reaching full operational efficiency.

Selecting a Vendor or Equipment
Vendor selection determines whether your apparel printing operation launches on schedule or stalls for months. Allocate two to three weeks to this process: one week researching providers, one week requesting and evaluating samples, and a final week negotiating terms and placing a test order of 10 to 20 units. This timeline keeps you on track for the four to eight week launch window.
For print-on-demand operations, compare the following vendors by ordering sample garments in your target fabric weights:
- Printful — integrates with most major store systems and offers midrange pricing
- Teespring — works well for campaign-style launches
- Contento — category-specific option
- Niche vendors — often provide superior fabric quality but require manual order processing
Check color accuracy against your digital files, examine stitching quality around collar seams, and test API integration with your e-commerce platform.
For small-batch production, vet local screen printers and embroidery shops by asking about minimum order quantities, lead times from artwork approval to delivery, and sample turnaround. Request references from retailers they currently serve. A shop requiring 50-unit minimums with two-week lead times fits most store launch plans. Ask about payment terms: net-30 accounts help manage cash flow once you’ve proven reliability with initial orders.
In-house equipment demands different due diligence. Direct-to-garment printers handle full-color designs efficiently and represent a meaningful investment in production capability. Screen printing setups require separate screens per color, making them ideal for shops with focused design portfolios. Embroidery machines vary widely in capacity, with options to match your production speed and design complexity needs. When adding embroidered hats to your product line, confirm any vendor you select has a proven track record and can scale operations during peak seasons without compromising delivery commitments.
Building Your First Apparel Product Line
The most common mistake when launching apparel is trying to stock every color, style, and size from day one. Start with two to three SKUs — typically a t-shirt, hoodie, and hat — and expand only after you’ve validated demand. This approach simplifies vendor coordination, reduces inventory risk, and lets you test pricing without overcommitting capital.
Your design strategy should reflect your existing brand and customer base. If you run a pack-and-ship store near a university, graduation cap designs in late spring make sense. Holiday-themed apparel should be ready by early August to capture gift-buying season. Use customer feedback from your current services to identify which designs will resonate. For quick design execution, Canva templates work well for simple graphics, while freelancers on Upwork or Fiverr can handle more complex illustrations based on your project scope and budget.
Pricing apparel requires different markup structures than shipping or document services. Print-on-demand items warrant a modest markup over production costs, while batch production commands a higher markup reflecting economy of scale. A print-on-demand t-shirt should retail at a price point well above its base cost, whereas a batch-produced hoodie supports an even larger markup spread. Remember to account for embroidery upcharges when setting your retail price from the outset, as these add-ons can shift your final margin calculations.
Follow this four-week timeline: spend weeks one and two finalizing your production model decision based on projected volume. Use weeks two and three for vendor vetting, including sample orders and reference checks. Dedicate week three to design finalization and platform setup, whether that’s configuring a POD account or placing your first batch order. Weeks four through eight are your soft launch period. Aim for 10 to 20 pre-orders or initial sales before expanding your product range or committing to larger inventory buys. This validation step prevents costly overstock and confirms you’ve priced correctly for your market.
Quick Integration with Your POS
Once you’ve chosen a production model and vetted your vendor, configure your POS to track apparel as a distinct service category. Create a new section labeled “Apparel Printing” or “Custom Apparel” alongside your existing shipping and print services. This separation allows you to monitor apparel revenue, margin, and customer demand independently rather than burying orders in a catch-all “miscellaneous” bucket.
For print-on-demand orders, set up SKUs that trigger vendor fulfillment workflows. Your staff needs clear flags showing that a POD order routes directly to your supplier rather than your fulfillment area. Skip inventory tracking for these items entirely—your vendor manages stock. For batch-produced apparel, assign SKUs with inventory counts so your system alerts you when restock is needed. ParcelPuffin’s inventory module tracks both scenarios and integrates shipping labels for batch orders you fulfill in-house.
Configure automated customer communications within your POS. Send confirmation emails that include production timelines (typically 5–7 business days for POD, 2–3 weeks for batch runs). For batch orders you ship yourself, attach tracking links when you print the label. These touchpoints reduce support inquiries and set accurate delivery expectations.
Run margin reports monthly to compare apparel performance against pack-and-ship and print services. Most POS systems let you filter revenue and cost-of-goods by service category. Within 30 days of launch, you’ll see whether apparel is meeting your margin targets or needs pricing adjustments. This data informs your expansion decisions—whether to add SKUs, increase batch sizes, or shift production models.
Measuring Success and Scaling
Track three metrics during your first 90 days: units sold per month, gross margin dollars (not just percentage), and customer attach rate — the percentage of your existing print and ship customers who purchase apparel. These three numbers tell you whether apparel is pulling its weight as a service line or just consuming counter time.
Set a 30-day breakeven target for print-on-demand operations. You should cover vendor costs and labor within the first month because POD carries no inventory risk. If you chose batch production, plan for 60 to 90 days to recoup your initial inventory investment. Missing these targets signals a pricing problem or weak product-market fit, not a flawed business model.
Success isn’t unit volume alone. A store with steady apparel movement can generate enough margin to justify the operational overhead. Compare that contribution to your other service lines. Does apparel improve customer lifetime value? When customers buy a custom shirt, do they return for additional print work or shipping services? Track repeat purchase rates among apparel buyers versus your overall customer base.
Once you hit 100 units per month consistently, revisit your production model. That volume threshold makes small-batch production or in-house equipment financially viable, allowing you to recapture the margin dollars that currently flow to contract manufacturers. Seasonal peaks matter too: June through August brings summer events and corporate orders, while November and December deliver holiday gift demand. Use these windows to test higher volumes before committing to equipment purchases.